Step 2.2: Add Properties to Your Data Type
Properties are essential components of your Data Type. They define the attributes of the resource and represent the data that will be sent or received as part of RESTful requests and responses.
How to Add Properties
-
Select the Data Type:
- From the list of Data Types, select the one you just created.
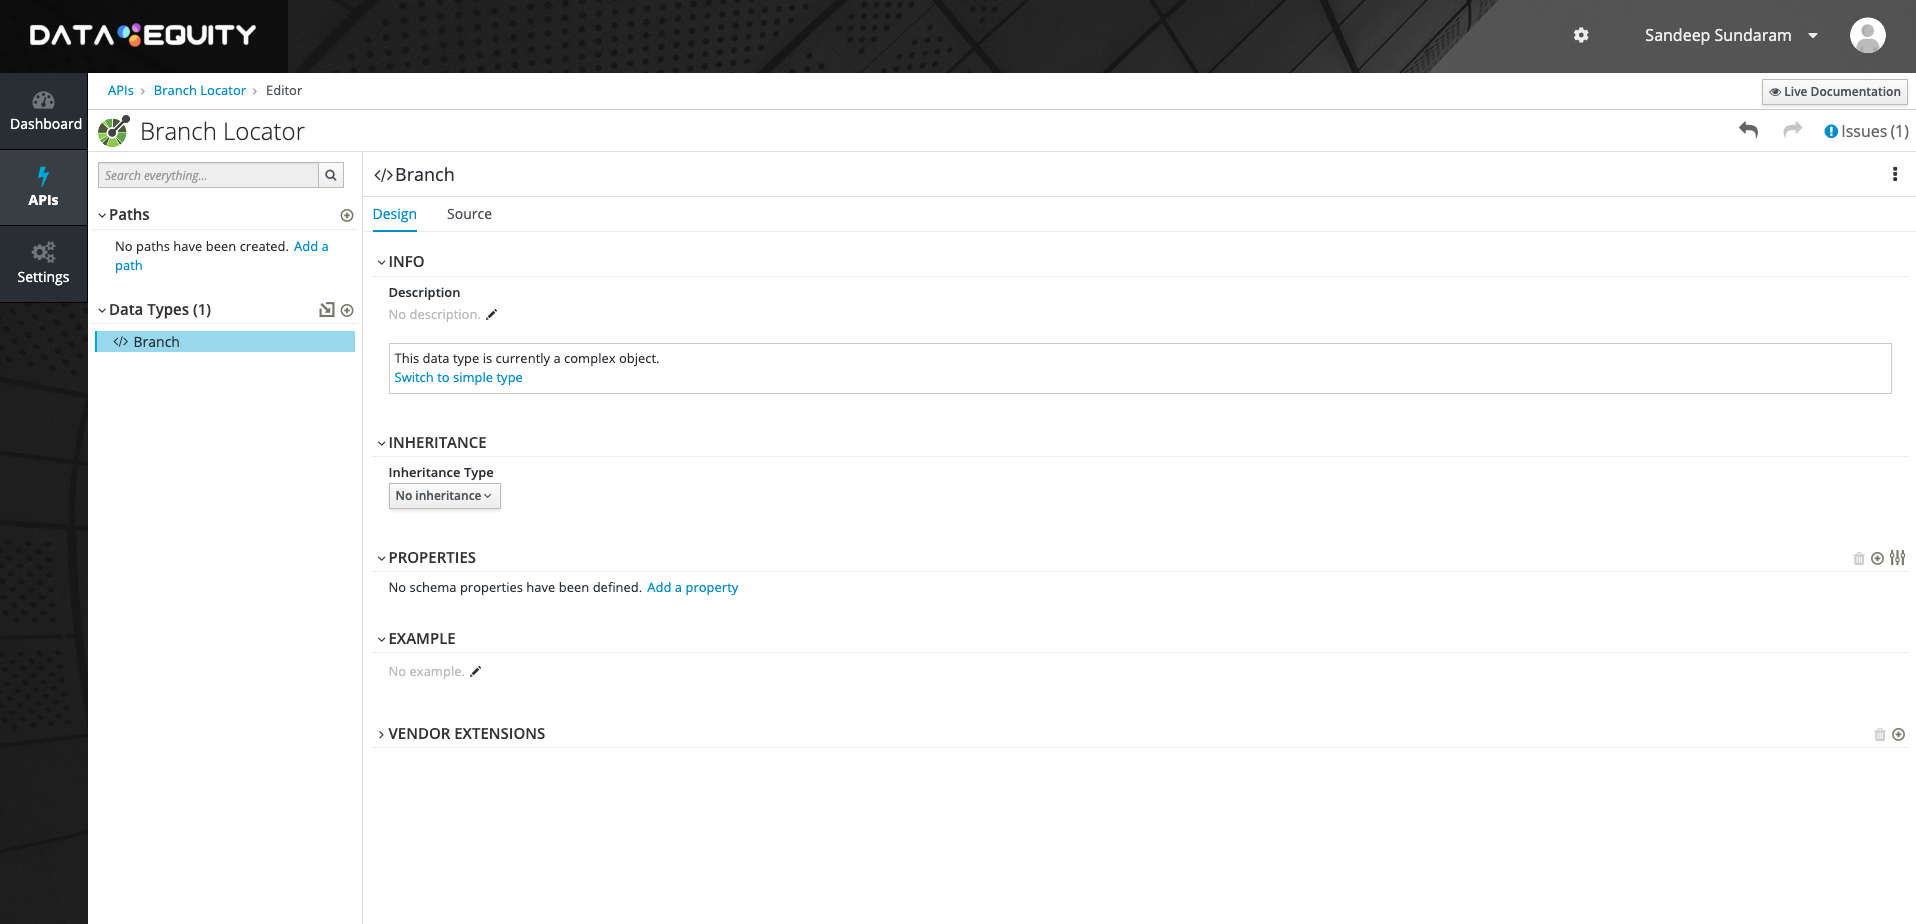
- From the list of Data Types, select the one you just created.
-
Add a New Property:
- Click on the Add Property button.
- Click on the Add Property button.
-
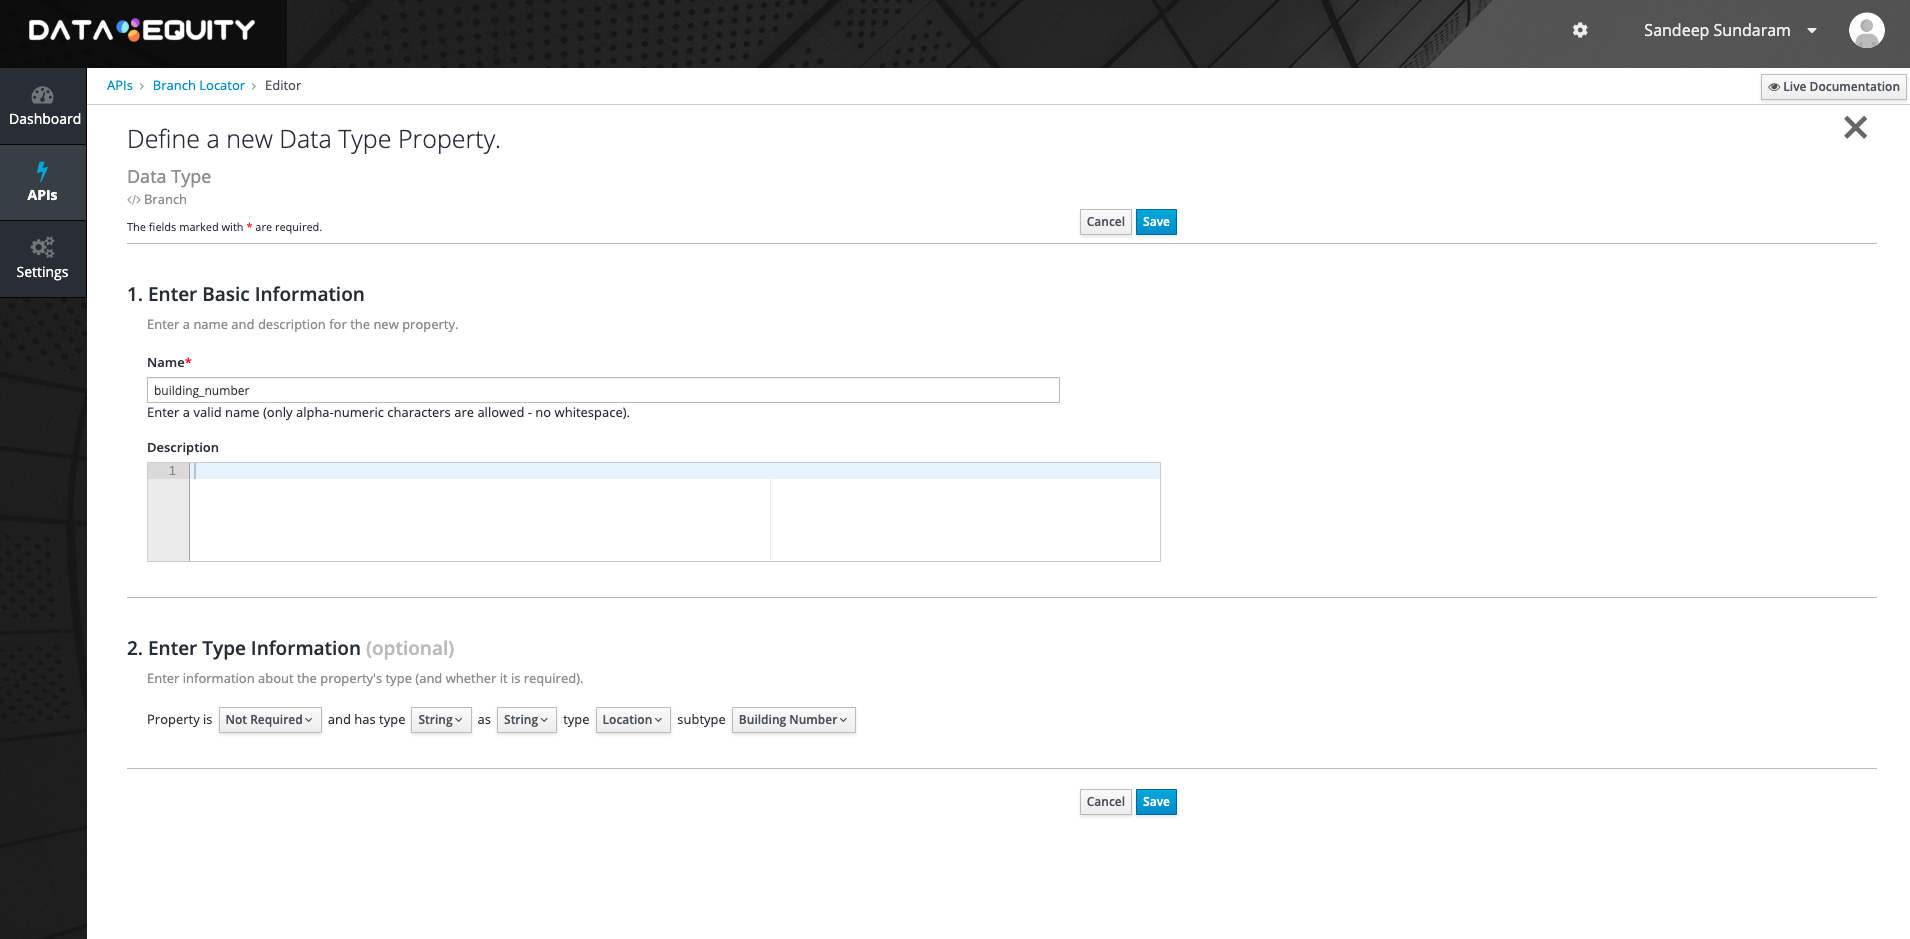
Provide Property Details:
- Name: Enter a meaningful name for the property (e.g.,
username,price, ororderDate). - Type: Specify the data type of the property. Common types include:
integer: For numbers (e.g.,age,quantity).string: For text (e.g.,name,email).boolean: For true/false values (e.g.,isActive).date: For date values (e.g.,createdAt).
- Name: Enter a meaningful name for the property (e.g.,
-
Define Mock Data Types (For Strings):
- If the property type is
string, you can choose a mock data type (e.g., names, emails, phone numbers). - The system will use this information to automatically generate mock data when the API is deployed.
- If the property type is
-
Save the Property:
- Once all details are entered, click Save to confirm the property.
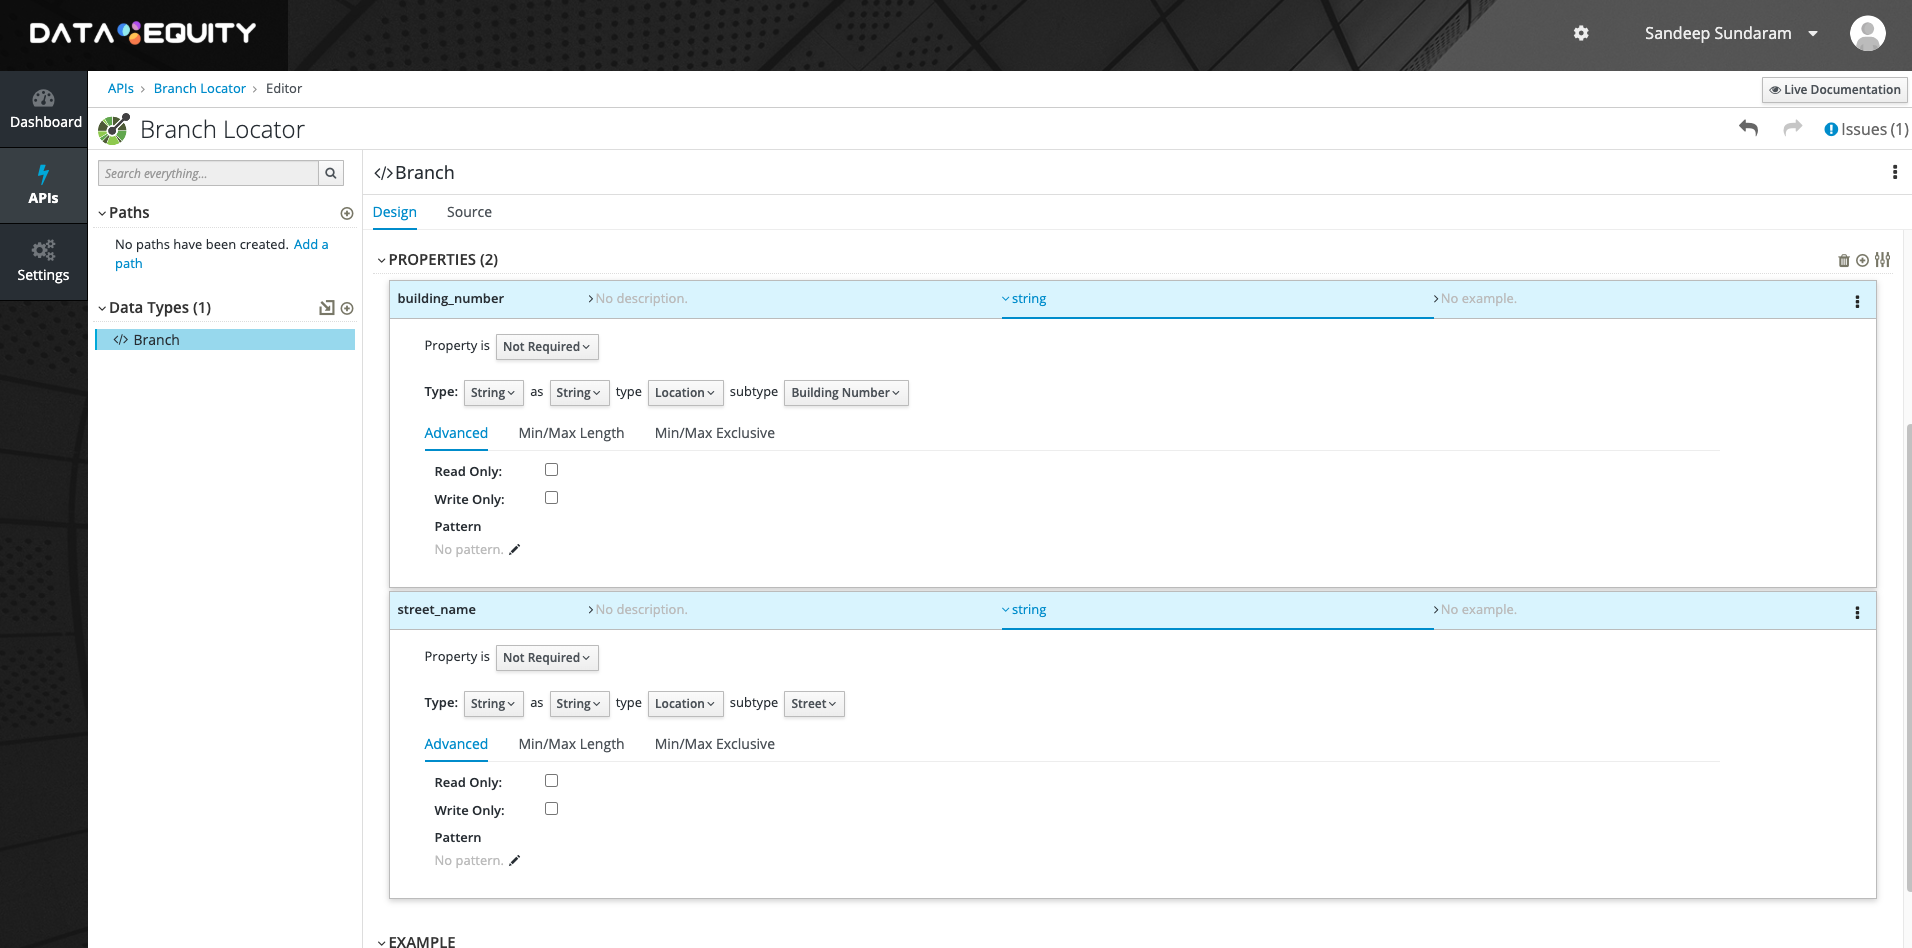
Example: Adding a Property for a "User" Data Type
If you're creating a "User" resource, you might add the following properties:
| Property Name | Type | Mock Data Type (for Strings) |
|---|---|---|
username | string | username |
email | string | email |
age | integer | N/A |
isActive | boolean | N/A |
By defining properties, you create a robust structure for your API's resources. Once completed, your Data Type will be ready to use in API paths and operations. Let’s move on to defining Paths!